With all the just-picked fresh strawberries in our house, jam was one of my big projects for this past weekend. After fresh-eating, jam really is one of my favorite ways to enjoy strawberries–partially, I suppose, since it allows for easy enjoyment these these local beauties year-round. The jam I made this weekend was delicious and simple to make. The recipe uses Pomona’s pectin, and is not too sweet. It also sets up a little more loosely than some other jam, which I prefer. No overly-gelatinous stuff here! All this makes it great for morning toast or peanut butter and jam sandwiches of course, but because it’s not too sweet or gelatinous, it’s equally good on top of yogurt or ice cream….or just by the spoonful!
Weekend Strawberry Jam
(Makes 8-10 Half-pint jars)
To do ahead of time:
*Wash and rinse half-pint jars, lids, and screw bands. Set screw bands aside until ready to use. Place jars in hot water bath canner, fill at least 2/3 of the way full with water, and bring to a boil. Sterilize jars for 10 minutes, then turn down heat and let jars stand in hot water until ready to use. Place lids in water in a small pan, bring to a low simmer, and hold there until ready to use.
*Prepare the calcium water (included in the Pomona’s Universal Pectin package). To do this, combine 1/2 teaspoon white calcium powder with 1/2 cup water in a small, clear container with a lid. Shake well before using. Note that you will have more calcium water than you will end up using in this recipe, and can save it for later use.
Ingredients:
8 cups mashed strawberries (about 3-4 quarts of whole strawberries)
4 teaspoons calcium water
2 ½ cups sugar
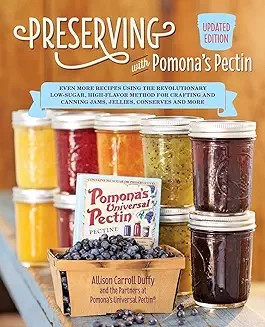
4 teaspoons Pomona’s pectin powder
Directions:
1.) Rinse strawberries and remove stems
2.) Mash strawberries in a large bowl
3.) Measure mashed strawberries into a large pan
4.) Add calcium water to the strawberries and mix well
5.) In a separate bowl, combine sugar and pectin powder, mix well, and set aside
6.) Bring strawberries to a boil, then add the sugar-pectin mixture. Stir vigorously for 1-2 minutes to dissolve the pectin.
7.) Return mixture to a boil, then remove from heat.
8.) Remove hot jars from canner and fill jars with jam, leaving ¼ inch of headspace. Remove trapped air bubbles, wipe rims with a damp cloth, and put on lids and screw bands.
9.) Place jars back the canner, cover with lid, return to a rolling boil, and boil for 10 minutes. (Add 1 minute additional processing time for every 1000 feet above sea level.)
10.) Turn off heat and allow canner and jars to sit for 5 minutes. Then, remove jars from canner.
11.) Allow jars to cool undisturbed for 12-24 hours. Then, confirm that jars have sealed. Enjoy your jam! Or, store properly for later use.