I just thought I’d let you all know, in case you haven’t seen it in my upcoming class listing, that I’ll be teaching a class on making sauerkraut at the Urban Farm Fermentory this coming tuesday, October 19, from 6-8 PM. There’s still space, so come on over and learn all about making this traditional, fermented food! And even if you can’t make it to the class, you should definitely check out the Urban Farm Fermentory when you have a chance–they have all kinds of great stuff going on over there. Have a great day, everyone!
-
Sauerkraut Class at Urban Farm Fermentory!
-
Apple-Maple Butter
I’ve been working on more can-able recipes using maple, and since we’re in the midst of fall, and it’s apple season, a recipe with apples seems in order. In this recipe, instead of using maple syrup, I use pure maple sugar. Here it is–enjoy!
Apple-Maple Butter
Makes approximately 12 half-pints
To do ahead of time:
*Wash and rinse half-pint jars, lids, and screw bands. Set screw bands aside until ready to use. Place jars in hot water bath canner, fill at least 2/3 of the way full with water, and bring to a boil. Sterilize jars for 10 minutes, then turn down heat and let jars stand in hot water until ready to use. Place lids in water in a small pan, bring to a low simmer, and hold there until ready to use.
Ingredients:
10 pounds apples
3 cups sweet apple cider
2 teaspoons cinnamon
¼ teaspoon cloves
¼ teaspoon nutmeg
2 ½ cups maple sugarDirections:
1.) Peel and core apples, then slice into quarters.
2.) Place apples and apple cider into a large stainless steel sauce pan. Bring to a boil, then reduce heat to medium and cook until apples are soft, stirring frequently. This should take between 20 and 30 minutes, depending on the variety and maturity of the apple.
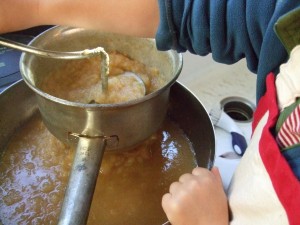
3.) Remove the saucepan from the heat. Ladle the apple pulp into a food mill, and press the pulp through the food mill. If you do not have a food mill, you can lightly puree the apple pulp in a food processor instead.
4.) Return the apple puree to the saucepan, then add cinnamon, cloves, nutmeg, and maple sugar. Heat the mixture to boiling, stirring frequently, then reduce heat. Simmer, stirring frequently, until mixture has reduced and thickened significantly. This will take about an hour, or possibly longer. You’ll know that it’s done when the apple mixture retains its shape when mounded on a spoon.
5.) Remove hot jars from canner and immediately ladle hot apple butter into jars, leaving 1/4 inch of headspace. Remove trapped air bubbles and wipe rims with a damp cloth. Carefully put on lids and screw bands, tightening to fingertip-tight.
10.) Place jars in the hot water, ensuring that jars are covered with at least 1-2 inches of water. Place a lid on the canner, return to a rolling boil, and boil for 10 minutes. (Add one minute additional processing time for every 1000 feet above sea level.)
11.) Turn off heat and allow canner and jars to sit untouched for 5 minutes. Then, remove jars from canner, placing them on a cooling rack or dishtowel.
12.) Allow jars to cool undisturbed for 12-24 hours. Then, confirm that jars have sealed. Enjoy your apple butter! Or, store properly for later use.
-
Cider-making at Hope Orchards
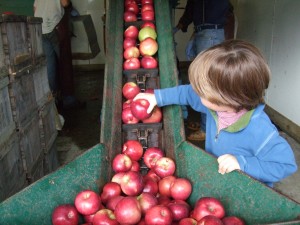
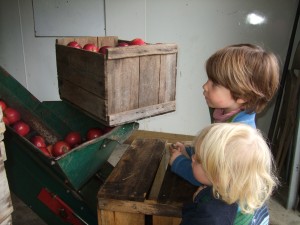
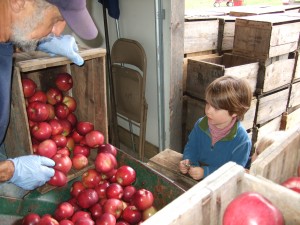
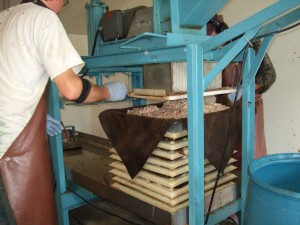
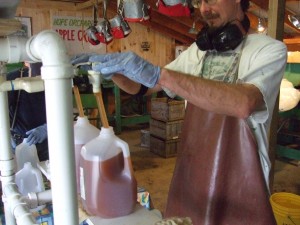
Remember our trip to Hope Orchards the other day to buy pears? Well, one really fun thing going on while we were there that I didn’t mention in my last post is that they were pressing apple cider while we were there! The small main building at the orchard houses both a compact retail space and the orchard’s pressing operation. The building is open on one side, so the public can easily watch the pressing. It’s not that they have it set up to be “viewed” per se (no “observation areas” here) it’s just that it’s all happening right there, out in the open, because that’s just how they do things. It was really fun for the boys because the guys doing the processing were happy to let them help put the apples on the conveyor belt, and even brought them around behind the press to get a better view of the actual pressing and of the juice dripping out of the pressed apple pulp. Then we watched the just-pressed cider go through a clear plastic tube above our heads, and directly down into gallon jugs. Seeing Connor and Ian watching intently, the man filling the gallons took a moment to remove a tube from one of the jugs in order to fill up a cup for each boy, which they proceeded to down in about three seconds each. What a treat–it doesn’t get much fresher and more delicious than that!
-
In Pursuit of Pears
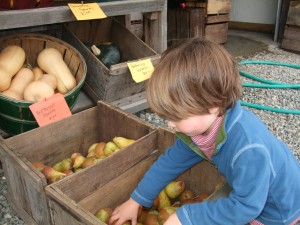
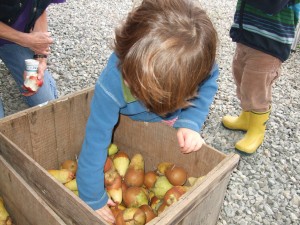
I love pears, so for the past couple of years during pear season I’ve been buying local pears in bulk. I’ve found that pears can be surprisingly difficult to come by, though. While they certainly grow around here, they’re just not as plentiful as I would expect. Some orchards do sell pears, but I’ve not yet found a pick-your-own place, and most of the pears that I’ve come across at local orchards are “first quality” and so are a bit on the expensive side. It’s not that I think they’re over-priced–I feel that local, in season, high-quality is worth it, and worth supporting, generally speaking. It’s just that it doesn’t really work for me when I’m looking to buy in bulk and to can it all, where less pricey “utility grade” fruits–still good but perhaps funny shaped or with skin imperfections–would work just fine for me. So, last year I was thrilled learn that Hope Orchards had lots of pears available, including utility grade pears at very reasonable prices.
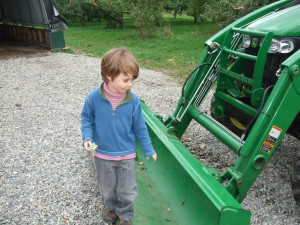
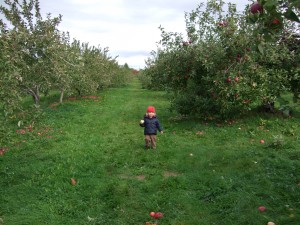
Yesterday, the boys and I headed up to Hope orchards to get our pears for this year. We found some beautiful utility grade Spartlets, which we purchased. And though we came for pears, we were pleasantly surprised with many more, unexpected things to see and do–especially for 2 and 4 year old boys! There were apples to eat, tractors to look at, fields to run in, places to wave sticks around, and a the best thing of all–time with Grandma! My mom was able join us at the orchard, which was an unexpected treat.
-
Peeling Apples
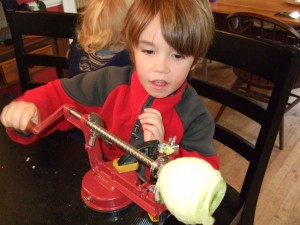
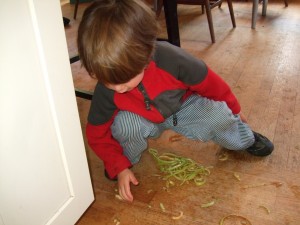
There’s no getting around it: Peeling and coring apples takes LOTS of time. Especially when you have to continually pause during the process to take care of any number of child-related needs: change diaper, get bandaid, help find lost Lego, prevent younger brother from hitting older brother with drumstick, get out paper and glue and locate hole puncher for art project…..you know the picture, I’m sure. To help tackle our pile of apples last fall, Ben picked up this really great apple peeler. It’s the kind that suctions onto the counter, you stick the apple onto a horizontal spike with a small peeling arm, and then you turn the handle to rotate the apple and peel it. I wasn’t so sure about it at first, but I have to say that it really does make the process go more quickly. The only part that doesn’t work for us as well as I’d like is that it doesn’t stick to the counter very well. But, Ben rigged up a clamp for it, and now at least it’s solid, even though it’s a little awkward to set up. But you know the best part about our apple peeler? The boys love it. As long as they get to crank the handle, they’re happy to help me out with peeling. And once Connor discovered that the peels come off in long strips and they’re fun to play with, it was even better. He was more than happy to catch them as they came off of the apple, and even clean up (without being asked!) the pieces that had already fallen on the floor. Who knew an apple peeler and the resulting peels could provide so much entertainment!
-
Apple Sauce Canning Classes!
Hey there—just want to let you all know that I’ll be teaching a couple of classes on making and canning apple sauce later this week. I’ll be teaching a class through Portland Adult Education on Thursday, October 7, from 6-9 PM at the Portland Arts and Technology Highschool, and I’ll be teaching another class on Saturday, October 9, from 9AM–Noon, at Ten Apple Farm in Gray. Check out my class listing section for more information. If you’re wanting to learn how to can, or just need a refresher, this is a great opportunity. There’s still room in both classes, so I hope I’ll see some of you!
-
Family Apple Picking
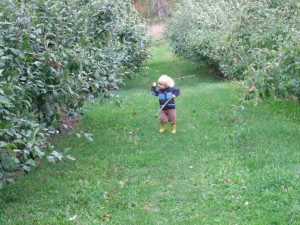
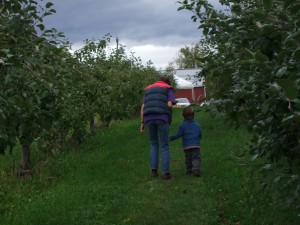
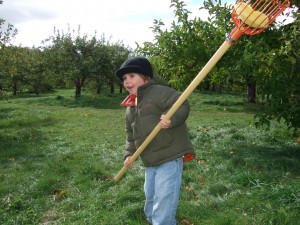
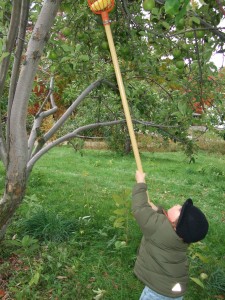
As soon as that fall feeling is in the air, I start to think about apples. It’s one of my most favorite fall activities, and somehow, if we were to miss it, things just wouldn’t feel quite right to me. Ben and I and the boys usually go on a weekend morning, do our share of picking, maybe go on a horse-drawn wagon ride if that’s an option, and then hopefully pass out–at least for one tiny moment–in the grass in the warm sun in a cider-doughnut coma. This year apples have been remarkably early, so we’ve been picking twice so far, actually. We decided to try out some orchards new to us–first we went to McDougal orchards in Springvale, and just the other day to Orchard Hill Farm in Cumberland. We were pleasantly surprised at both places in terms of how many different apple varieties were available. Having been accustomed to the limited selections (i.e. Macs and Cortlands) at most pick-your-own places around here offer, finding such relative variety (Granny Smith! Fugi! Honeycrisp!) at these other orchards was really a treat. And for Connor and Ian? Getting to use those apple-picker poles with the metal grabber baskets (whatever they’re really called I’m not sure) was, I think, the highlight of their days.
-
Peach Jam on Coombs!
So, remember my Maple-Vanilla-Peach jam that I posted a week or so ago? Well, it’s up on the Coombs Family Farms website now! Coombs produces delicious, organic, pure maple syrup, and they’re based in Brattleboro, Vermont. My friend Sharon Kitchens, who does work with Coombs Family Farms (and also has her own blog, Delicious Musings) suggested that I contribute a recipe to the Coombs blog…..and so there it is! Thanks for the opportunity, Sharon!
-
Tomato Canning Classes!
Hi Everyone. I just want to let you all know that I’ll be teaching a couple of classes on canning tomatoes later this week. I’ll be teaching a class through Portland Adult Education on Thursday, Sept. 9, from 6-9 PM at the Portland Arts and Technology Highschool, and I’ll be teaching another class on Saturday, September 11, from 9AM–Noon, at Ten Apple Farm in Gray. Check out my class listing section for more information. There’s still room in both classes, so I hope I’ll see some of you!
-
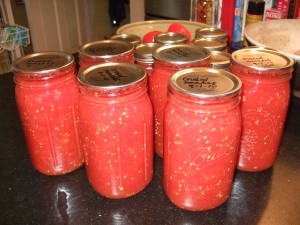
Canning Crushed Tomatoes
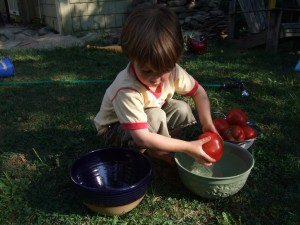
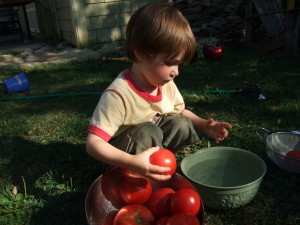
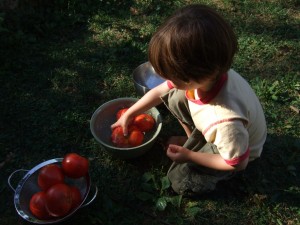
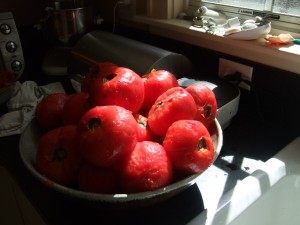
Yep, I still have a LOT of tomatoes to put up. We’ve had some beautiful days, so Connor and Ian have been helping me wash the tomatoes outside in the back yard, and I’ve been using my portable burner on a table outside for blanching and skinning them. (Gotta take advantage of the weather while we have it–here in Maine, we won’t have days like these for much longer…) I’ve been making all kinds of different things with the tomatoes, and preserving them lots of different ways, trying to work my way through them all. (The tomatoes were eventually banished from the kitchen table–hard to eat dinner, I admit–and the yet-to-be-used ones are now again living contentedly in the crate on our kitchen floor, in case you were wondering) One of my favorite ways of preserving them is to make canned crushed tomatoes. Perhaps it’s just personal preference, but I find crushed tomatoes to be one of the easiest ways to can tomatoes, and I find that the results are very consistent. They’re also really versatile, working well in soups, stews, casseroles, curries, pasta and rice dishes, and all sorts of things.
On important thing to know about canning tomatoes is that they always need to be further acidified before processing them in order for them to be safe. This is because tomatoes fall close to the dividing line between high acid foods (those that have a pH of 4.6 or less), and low-acid foods (those that have a pH of greater than 4.6). You can do this easily with the measured addition of bottled lemon juice or citric acid to the canning jar before processing. My preference is bottled lemon juice, primarily because I always have it on hand anyway, so I find it the most convenient. All I need to do is to add two Tablespoons per quart jar and all is good–it’s easy. Tomatoes can be safely canned in either a boiling water bath canner, or in a pressure canner, though the processing time will vary. The method below uses a boiling water bath canner.
Crushed Tomatoes
(Makes 7 quart jars of tomatoes)Ingredients:
20 pounds of fresh, whole tomatoes
Bottled lemon juice (2 Tablespoons per quart jar)Method
1.) Wash and rinse jars, lids, and screw bands. Set screw bands aside until ready to use. Place lids in water in a small sauce pan. Bring them to a simmer and hold at a very low simmer until ready to use. Place jars in hot water bath canner, fill at least 2/3 of the way full with water, and bring to a boil. Sterilize jars for 10 minutes, and then turn down heat and let jars stand in hot water until ready to use.2.) Blanch, peel, and core tomatoes. To do this, submerge a couple of tomatoes at a time in a pot of boiling water for 30-60 seconds, or until skins split. Remove the tomatoes from the boiling water and immediately immerse them in cold water. Slip off the skins, and then remove the core. Repeat this procedure for remaining tomatoes, working with just a few tomatoes at a time.
3.) Quarter several of the tomatoes—enough to equal roughly two cups—and place in the bottom of a large, stainless steel saucepan. Heat the tomatoes while crushing them, and bring them to a boil. A spatula, a potato masher, or a large spoon all work well for this. (Ideally the utensil should be stainless steel or wood, though cooking-grade synthetic materials will also work. Just avoid other metals, as they can react when in contact with tomatoes.)
4.) Quarter the remaining tomatoes and add them as you go to the pot, stirring and crushing the whole time. If you are using very large tomatoes, you may want to cut them into pieces smaller than quarters. Once all tomatoes have been incorporated, boil for five minutes and stir frequently to prevent burning.
5.) Remove quart jars from canner, and add 2 Tablespoons bottled lemon juice to each jar.
6.) Promptly fill jars with hot tomatoes, leaving ½ inch headspace. Remove air bubbles, and wipe jar rims. Place dome lids and screw bands on jars and tighten just to fingertip-tight. Carefully place jars back on the rack in the canner, ensure that water is covering all jars by 1-2 inches, cover with lid, and return water to a boil. Process tomatoes at a full boil for 45 minutes. (NOTE: If you are at an altitude over 1000 feet, the processing time must be increased. If you’re at 1001—3000 feet above sea level, process quarts for 50 minutes, if you’re at 3001—6000 feet process quarts for 55 minutes, and if your location is over 6000 feet above sea level, process for 60 minutes.)
7.) After processing, turn off heat and allow canner to sit undisturbed for 5 minutes. Then, carefully remove jars and place on cooling rack or towel. Allow jars to sit undisturbed for 12-24 hours.
8.) After 12-24 hours, check jars to confirm that they have sealed properly. Then remove screw bands, rinse jars, label, and store for up to one year.


