Yep, it’s that time of year,,,,when I feel increasing vegetable-related anxiety creeping in. I venture into our attic or cellar in February, and things still feel manageable. In March there is definitely more pressure, but it still seems possible. However by April, it feels overwhelming, and like an unattainable goal…..how are we possibly going to eat all the rest of the stored produce before it rots?!
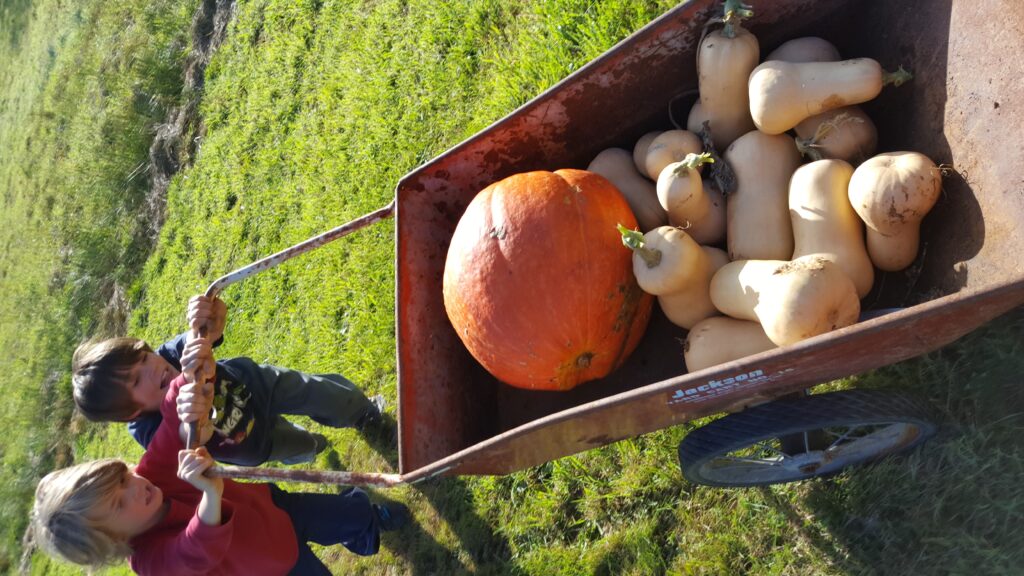
We harvest the root crops, garlic, onions, cabbage and winter squash in the fall, then cold-store them as a means of preserving them through the winter. The carrots, beets, parsnips, and cabbage go in our basement–which is quite cold and damp–into our make-shift root cellar. The onions, garlic and winter squash get tucked into a corner of our attic, where it’s dry and the temperature is a bit warmer.
What and how much we store is a little different every year, depending on how things grew, and evolving tastes. Some years we don’t have enough carrots, and we have way too much cabbage. Some years the onions are abundant, while the potatoes are disappointing. And then there are the things I don’t grow any more at all–like celeriac and rutabega–as my family members are not big fans.
This year, we’ve eaten up all the onions, I’m almost through the beets and cabbage, and the remaining daikon is earmarked for a kimchi project next week. But as for the butternut squash…even though we’ve been eating it regularly, we still have so much left! Now in late April, we’re definitely on borrowed time. Indeed, some of the squash has already rotted, or gotten too mushy to use. I rescued the remaining good stuff from the attic this afternoon and hauled it down to the kitchen. My favorite way to preserve a lot of squash fast is also one of the easiest and most straight-forward….the sqaush is simply roasted, pureed, and frozen. With that, you’ll have delicious, pureed squash ready to use. It’s so versatile, and shines in both sweet and savory dishes. Next week I’ll fill you in on one of my favorite ways to enjoy butternut puree for breakfast. But for now, I’ve got to get this squash in the freezer!
Roasted Sqaush Puree
Ingredients:
Whole Butternut squash (any amount)
Method:
1.) Preheat the oven to 350 degrees.
2.) Wash the butternut squash, slice each squash in half length-wise,
then scoop out and discard/compost the seeds in the middle.
3.) Place each squash half in a roasting pan with the skin side facing up. (You can place as many halves in the pan as will comfortable fit without overlapping eachother). Then, add water to the pan, so that is surrounds the squash and is about an inch deep.
4.) Roast the squash in the oven for 45-60 minutes, until the flesh is soft enough to slice it with a knife. Then, remove the squash from the oven and allow it to cool.
5.) Scoop out the flesh, put it in a food processor, and process until the squash is completely smooth.
6.) Scrape the pureed squash into freezer-safe containers. Plastic containers with sealing lids, widemouth canning jars, or re-sealable plastic storage bags all work well. Freezing the squash in one or two cup portions is ideal, as it allows you to defrost only what you need for a given recipe. Be sure to leave headspace at the top of the containers to allow for expansion.
7.) Freeze the squash. When ready to use, simply defrost individual continers of squash as needed. For best quality, use the frozen squash within six months. Enjoy!