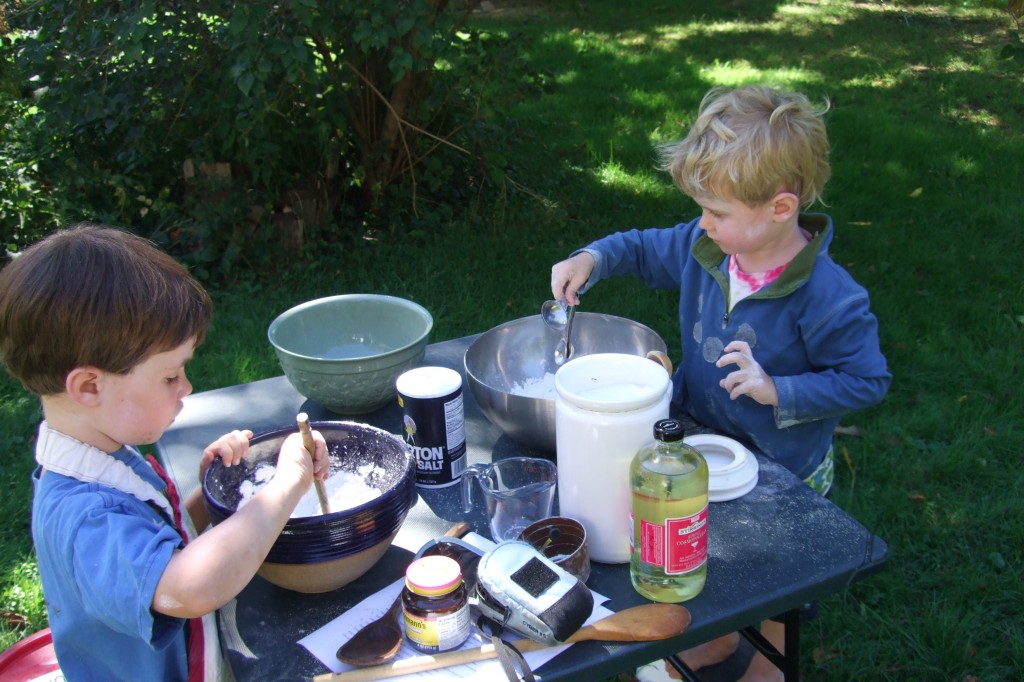
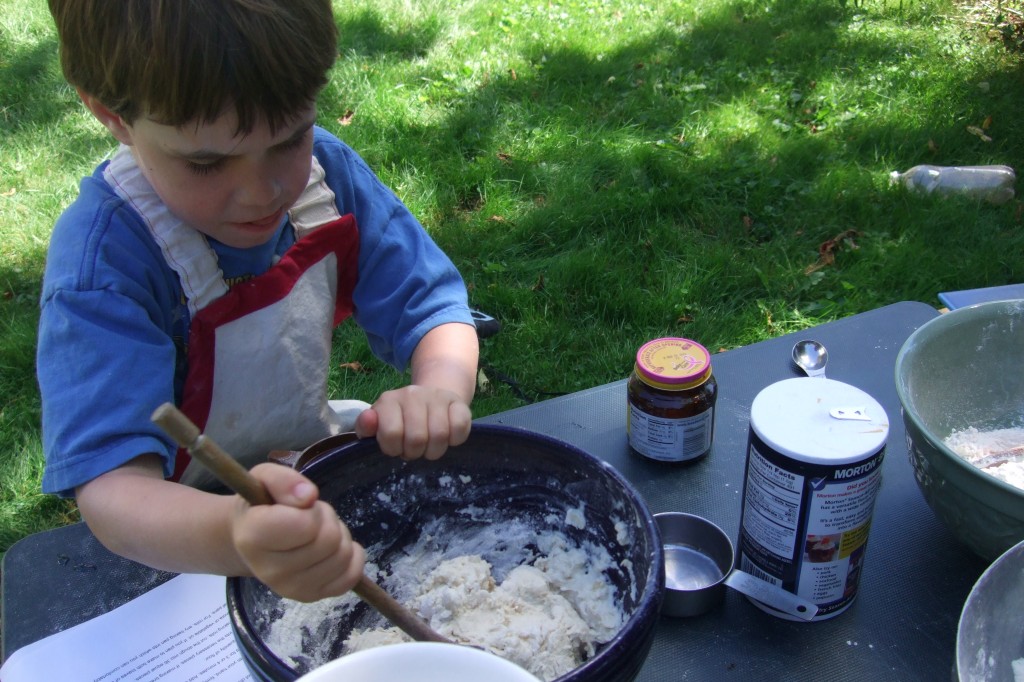
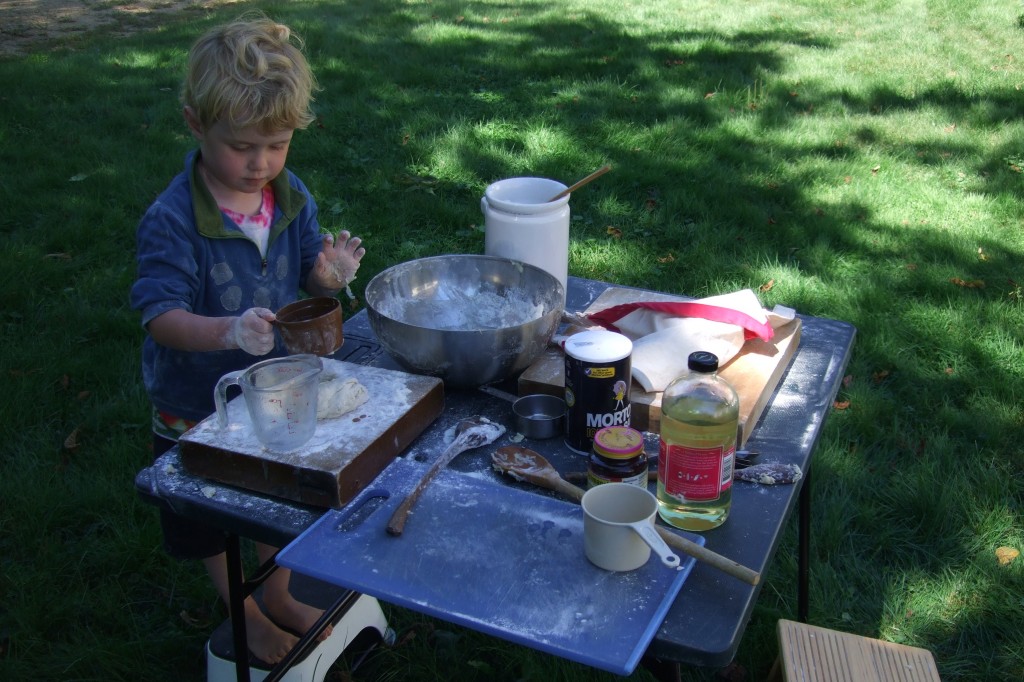
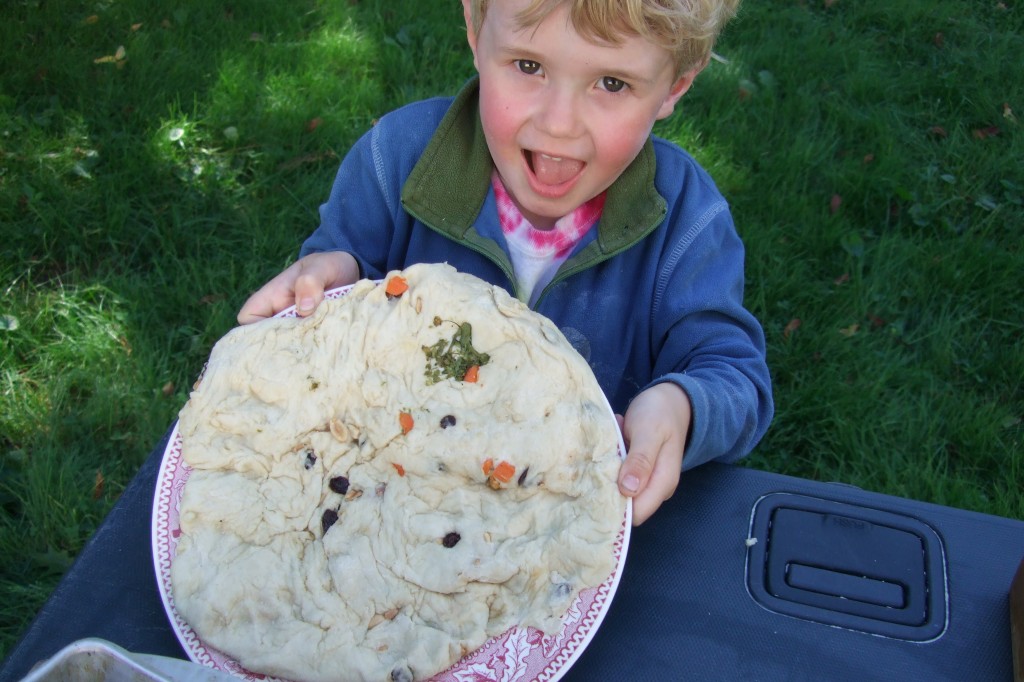
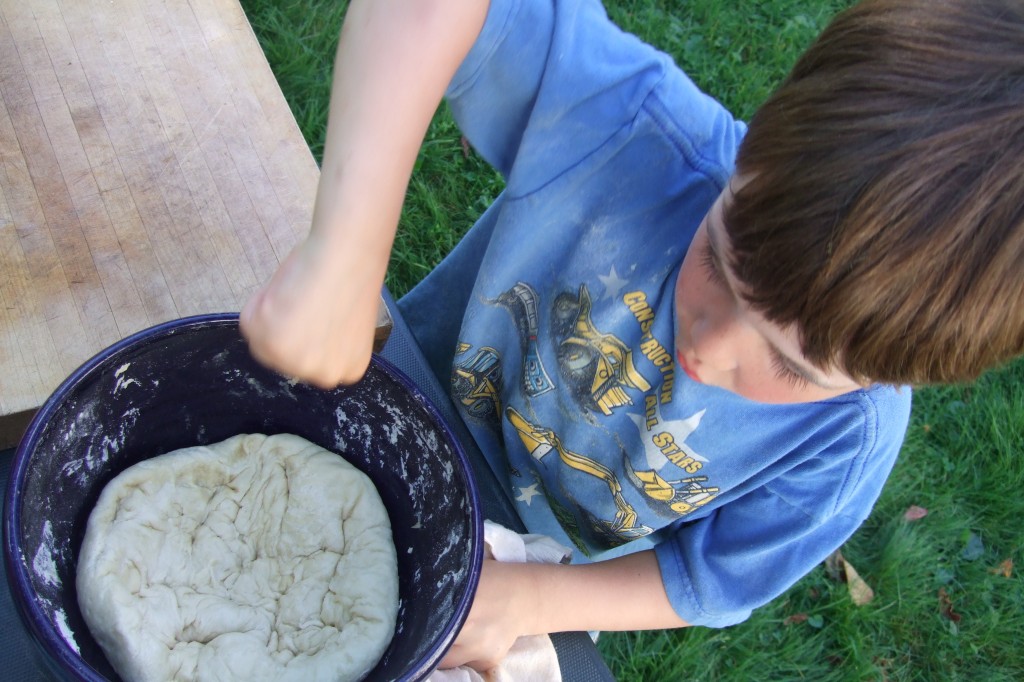
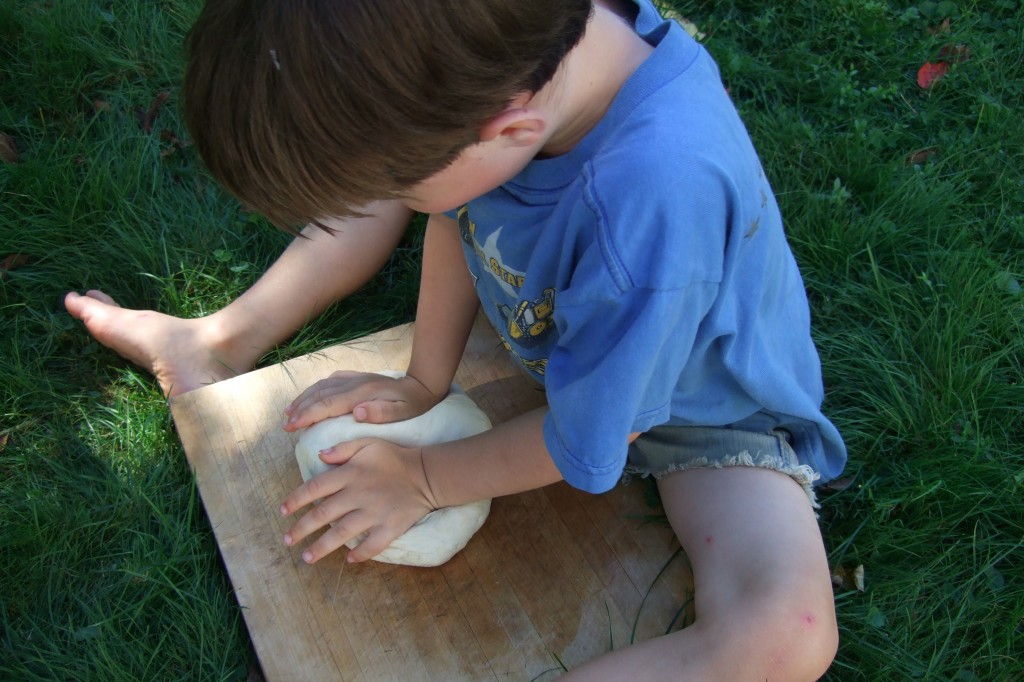
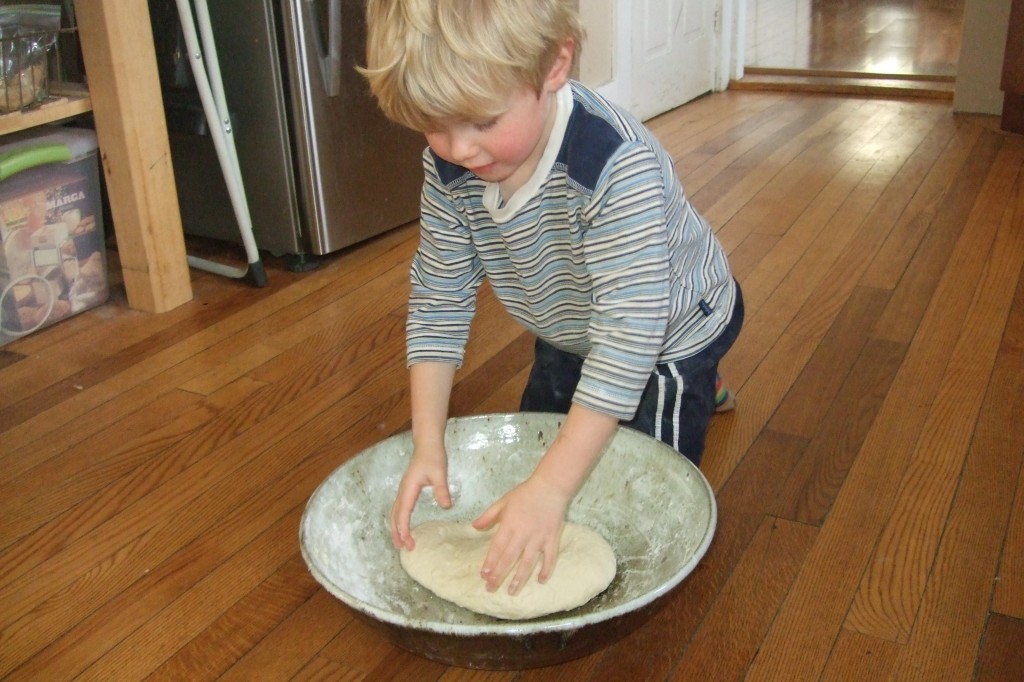
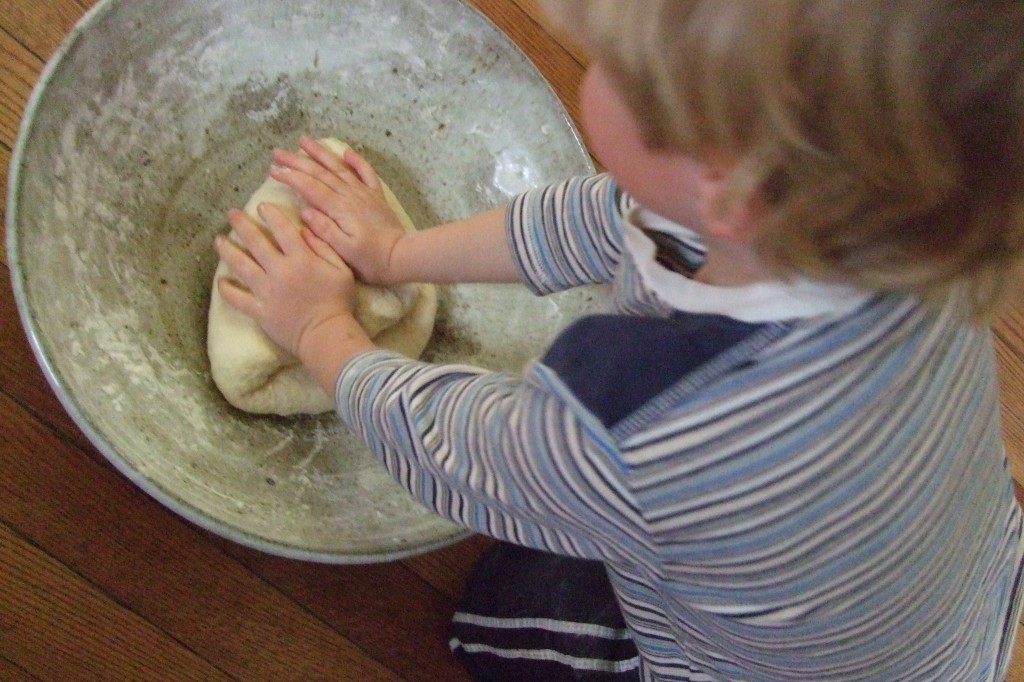
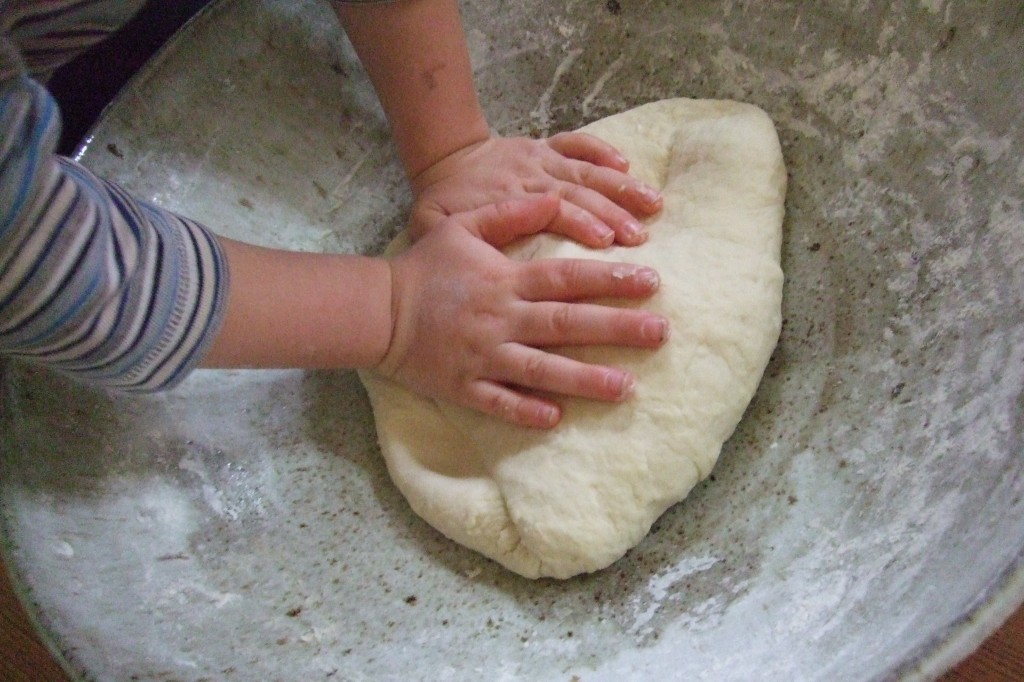
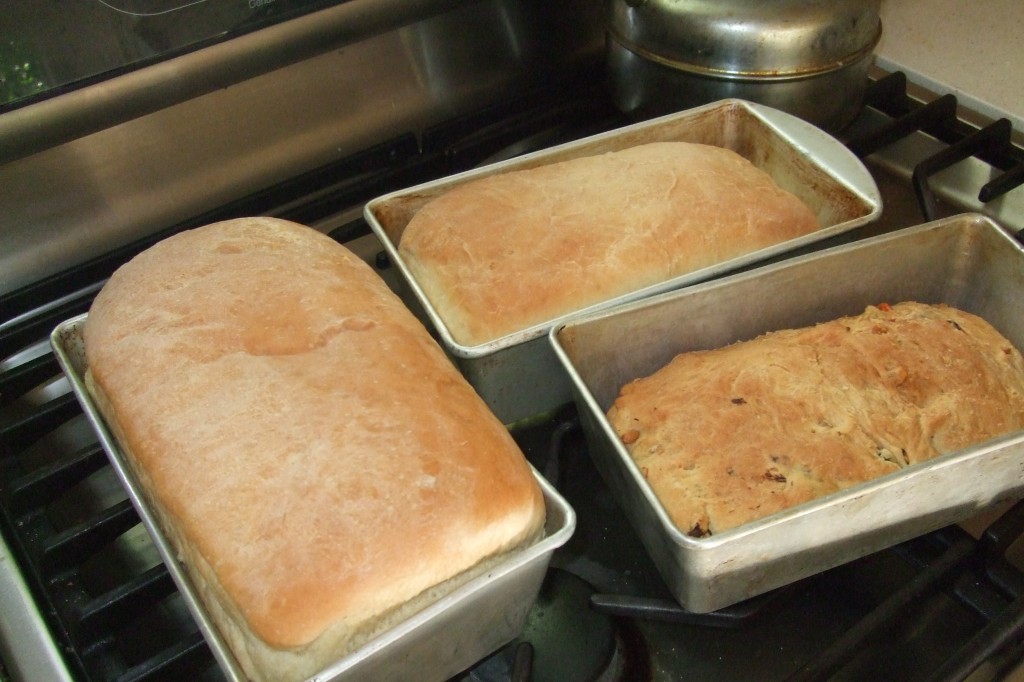
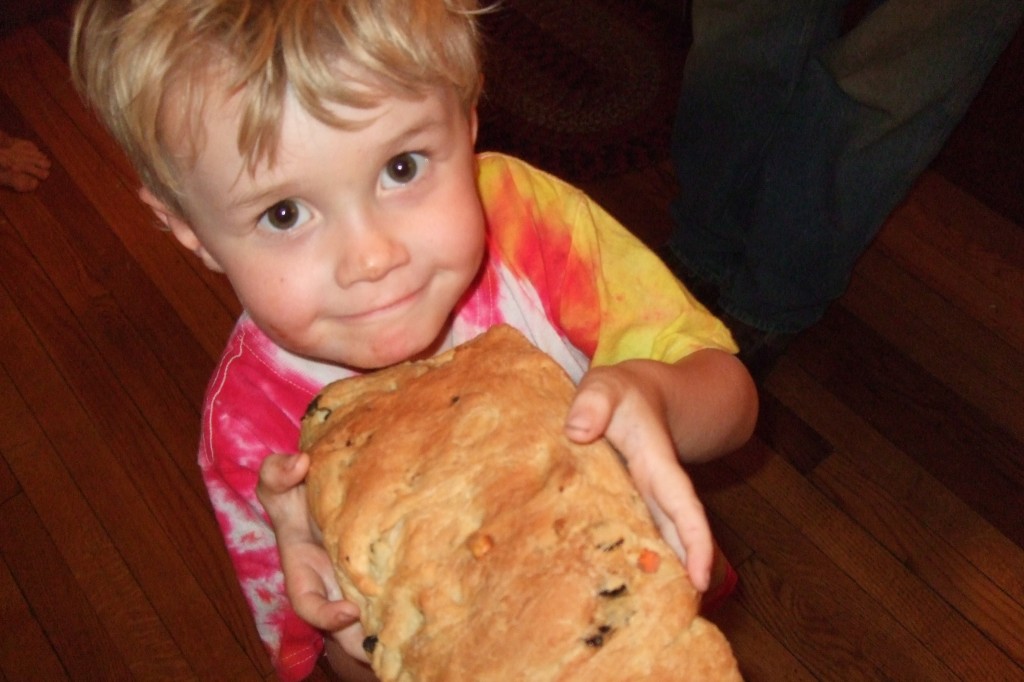
The boys and I have been making bread together since they were babies, but the process has definitely evolved over the years. When they were little, they were happy to simply help me make whatever I was making. Then, somewhere around age four, if I recall, Connor decided he wanted to make his bread, however he wanted to make it. What ensued was close to two years of lots of self-directed mixing of various amounts of flour, water, sugar, raisins, nuts, rainbow sprinkles, and food coloring, resulting in various liquidy mixtures that we would then bake into various semi-edible but not very tasty bricks of “bread”. Sometime last summer he decided that he wanted to make “real” bread, as he put it. He decided that he was OK with using a recipe, as long as he could still do it all himself. So, I worked up a very simple bread recipe that he would be able to make truly on his own. And indeed, for the last six months or so, that’s exactly what he has been doing. He’s made this bread several times (the photos that follow are from a few different bread-making sessions), and my job has been simply to talk him through each step (since he’s not able to read the recipe yet), and help him get the pan in and out of the oven. Ian’s been making bread, too, and they usually do it at the same time, each making their own version. At age four, Ian’s versions are definitely more free-form. He’s not much into following recipes, and he loves to add extra ingredients…..of all kinds. A recent version contained cooked carrots and broccoli. As you can imagine, Ian’s results are a bit more variable than Connor’s, but both have made some pretty tasty breads. And when someone wants to taste one of their creations? Not much seems to make them happier or more proud.
MAKE-IT-MYSELF BREAD
Makes 1 standard-sized loaf of bread
2 cups unbleached all-purpose white flour
1 cup whole wheat flour
1 package (2 1/4 teaspoons) instant (Rapid Rise) yeast
1 tablespoon honey
1 cup warm water
2 tablespoons olive oil (or other oil, if you prefer), plus extra for greasing bowl and pan
1 teaspoon salt
Directions:
1.) In a small bowl, combine warm water, honey, and yeast. Mix well and set aside.
2.) In a large mixing bowl, combine 1 1/2 cups of the white flour, wheat flour, and salt. Mix well to combine.
3.) Pour the water mixture into the flour mixture and mix thoroughly. (The dough will be thick, and stirring can be difficult, so if it’s not thoroughly combined yet, don’t worry. You can finish mixing it all together during kneading it in the next step).
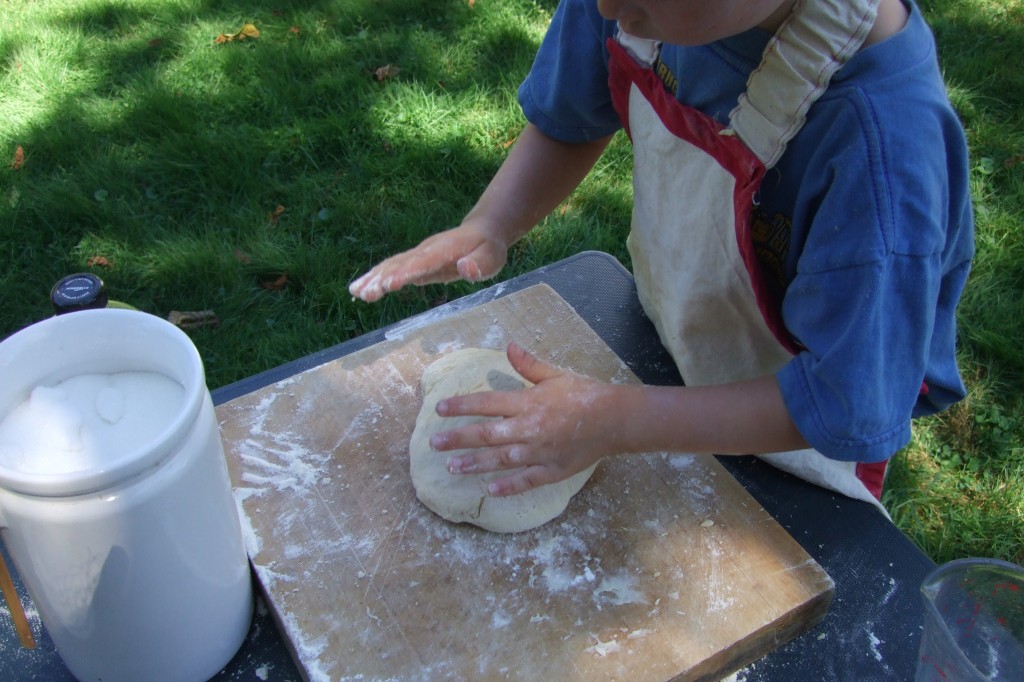
4.) Lightly flour counter or cutting board with a small amount of the remaining 1/2 cup of flour. Turn dough onto counter and knead for 8-10 minutes. Add additional flour from the remaining flour as needed to prevent sticking.
5.) Lightly oil the original mixing bowl. Put kneaded dough back into bowl. Cover loosely with a damp, clean kitchen towel and allow to rise in a warm spot for about 40 minutes, until roughly doubled in size. If the room temperature is on the cold side, you may need to let it rise for longer.
6.) Using your fingers, lightly grease the bread pan with oil, then set aside.
7.) Pre-heat the oven to 350 degrees.
8.) Remove the cloth from over the dough. Make a fist with you hand and firmly punch down the dough in the bowl.
9.) Turn dough out onto counter and knead for a couple of minutes. Add a small amount of flour (from the remaining quantity of flour) if needed to prevent sticking.
10.) Firmly press dough into bread pan so that it is relatively flat and fills the pan evenly.
11.) Loosely cover pan with the damp kitchen towel, and allow to rise in warm spot for 20 minutes.
12.) Bake at 350 degrees for about 45 minutes, or until bread is golden brown on top.
13.) Allow bread to cool slightly, then remove bread from pan. Allow to cool thoroughly on a cooling rack. Enjoy!


austin
July 29th, 2014 at 14:38